Watercolors 101 |
||||
My "Falling Leaves"
Painting - Step by Step |
Click on an image below to enlarge,
then click on it again to shrink. |
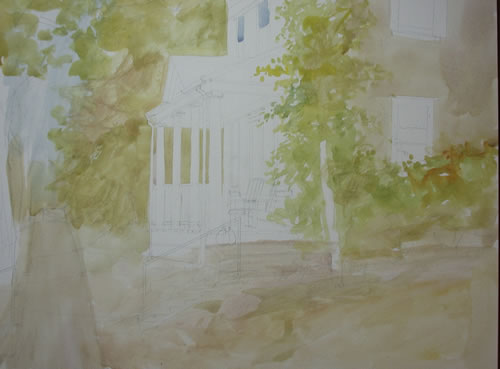
| Step 1 After completing a pencil sketch on paper, I then did a preliminary pencil drawing directly on the clayboard. In watercolor the white in the painting is the white of the paper. Keeping that in mind, I worked the less detailed areas first. |
|
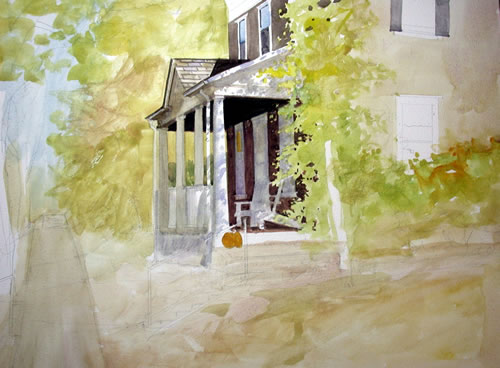
Step 2 Next I began painting the house and porch knowing
this is where the detail is (center of interest) in the painting. It
was time to lay down the darks. By doing this, the painting begins
to take on some depth. It's always good to establish your darks at
the beginning of the painting. |
|
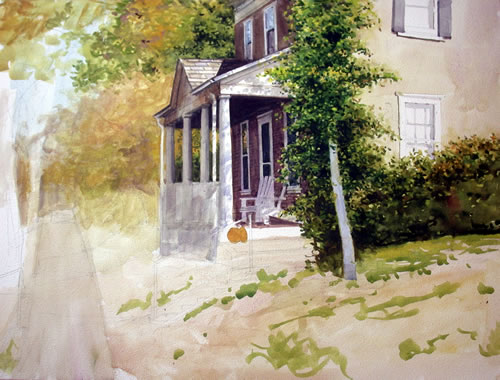
Step 3 As you can see, the center of interest is almost
complete. The darks have set the mood for the rest of the painting.
Now it's time to work more detail into the foreground. |
|
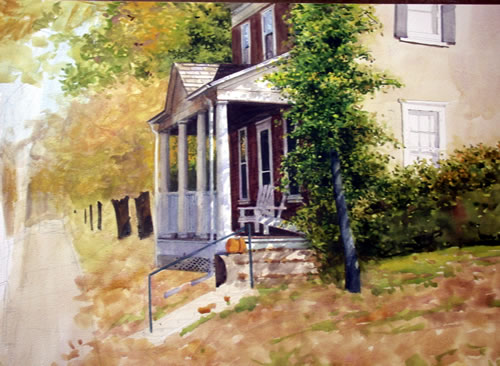
Step 4 After completing more detail
in the center of interest, I then moved into the background and began
to define the depth of the painting. This step is important because
it gives the viewer the feeling of stepping into the scene. |
|
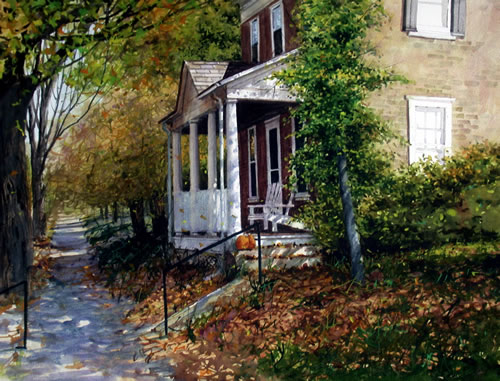
| Step 5 The painting is now complete. Having worked the background without too much detail, the depth of the painting has now been established. The shadows of the trees complete the scene along with the details of falling leaves and the leaves already on the ground. |
|